The web-based setup page of the Miracast Video Adapter can be accessed from a device that has Wi-Fi connection. You can set the video adapter to automatically choose a Wi-Fi channel to connect to. The adapter will pick the channel that has the least Wi-Fi interference. To set the Channel Selection Priority on Miracast Video Adapter, follow the steps below:
Step 1:
Turn OFF the Miracast Video Adapter by detaching it from the USB cable.
NOTE: Keep your TV powered ON. If the video adapter is powered by the TV, just unplug the adapter from the USB cable.
Step 2:
Press and hold the Multipurpose button located on the side of the Miracast Video Adapter. Do not release.
Step 3:
Continue pressing the Multipurpose button, then plug the USB cable back. Continue to press the button until the MIRACAST VIDEO ADAPTER / FIRMWARE UPDATE page appears on your TV screen.

Step 4:
Using a computer with Wi-Fi connection, look for the Wi-Fi-Video-Receiver network then connect to it.
Using a computer with Wi-Fi connection, look for the Wi-Fi-Video-Receiver network then connect to it.

Step 5:
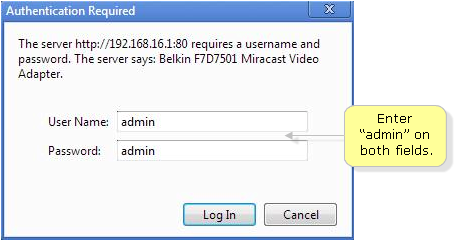
Open a web browser such as Internet Explorer. On the Address bar, enter "192.168.16.1" then press [Enter].

Step 6:
Enter "admin" as the User Name and Password.
Step 7:
Select Channel Selection Priority from the menu on the left.
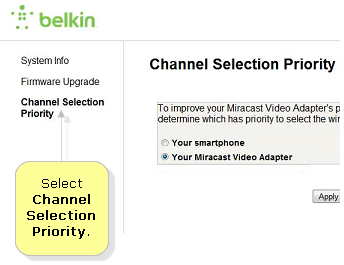
Step 8:
Select the Your Miracast Video Adapter option and click Apply.

Related Articles:


