If your computer has connected to different wireless networks before, you may encounter problems connecting wirelessly especially when the wireless network name (SSID) is the same with the previous ones you have connected to. Removing wireless network profiles is necessary if you have changed your password and are unable to connect.
Scroll down to find your Operating System and perform the following steps to remove the wireless network from your computer.
Step 1:
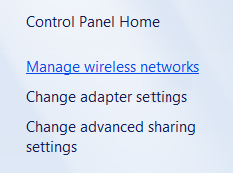
Right-click the Wireless icon and select Open Network and Sharing Center.

Step 2:
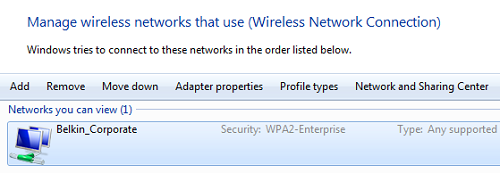
On the left menu, click Manage wireless networks.
Step 3:
Select the network you want to remove.
Step 4:
Click  to finish.
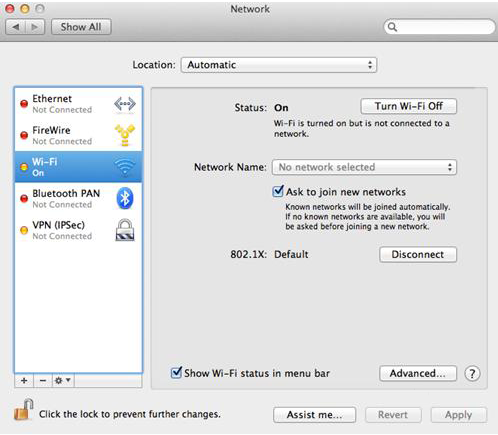
to finish.Step 1:
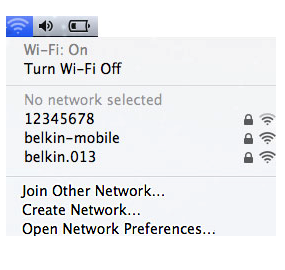
Click on the Wireless icon and select Open Network Preferences....
Step 2:
Click the Advanced... button.
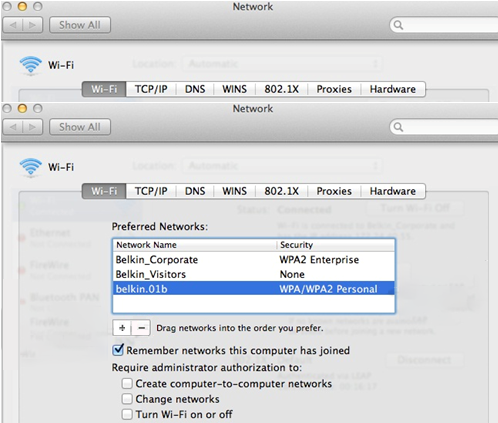
Step 3:
Select the network you want to remove in the Preferred Networks: list and click the - (minus) button.
Step 4:
Click OK to finish.
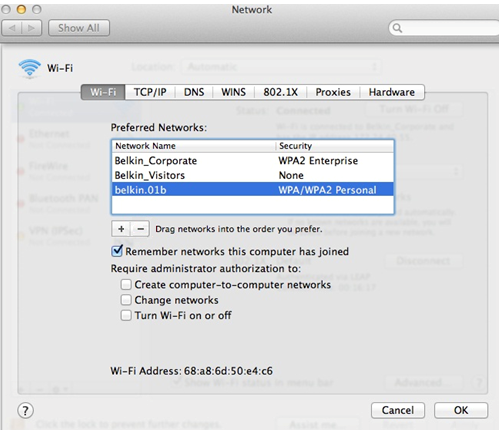
You should now have successfully removed the network.
Related Articles:
Related Articles:


