The Belkin BOOST↑UP™ Wireless Charging Spot lets you enjoy secure wireless charging in public spaces. This universal charging system is available in surface, recessed, and hidden mounting options, that allow wireless charging to be integrated into most surfaces including conference rooms, lounges, hotels, and retail locations.
This article will provide instructions on how to properly install the Belkin BOOST↑UP™ Wireless Charging Spot in different mounting options. Click on your Charging Spot's mounting option to learn more.
Surface installation
Recessed installation
Hidden installation
Surface installation
Before you proceed, make sure to have the following:
- One Phillips-head screwdriver
- One 80 mm circular grommet hole on your desk or table
NOTE: The steps below apply to Belkin B2B170 and B2B174.
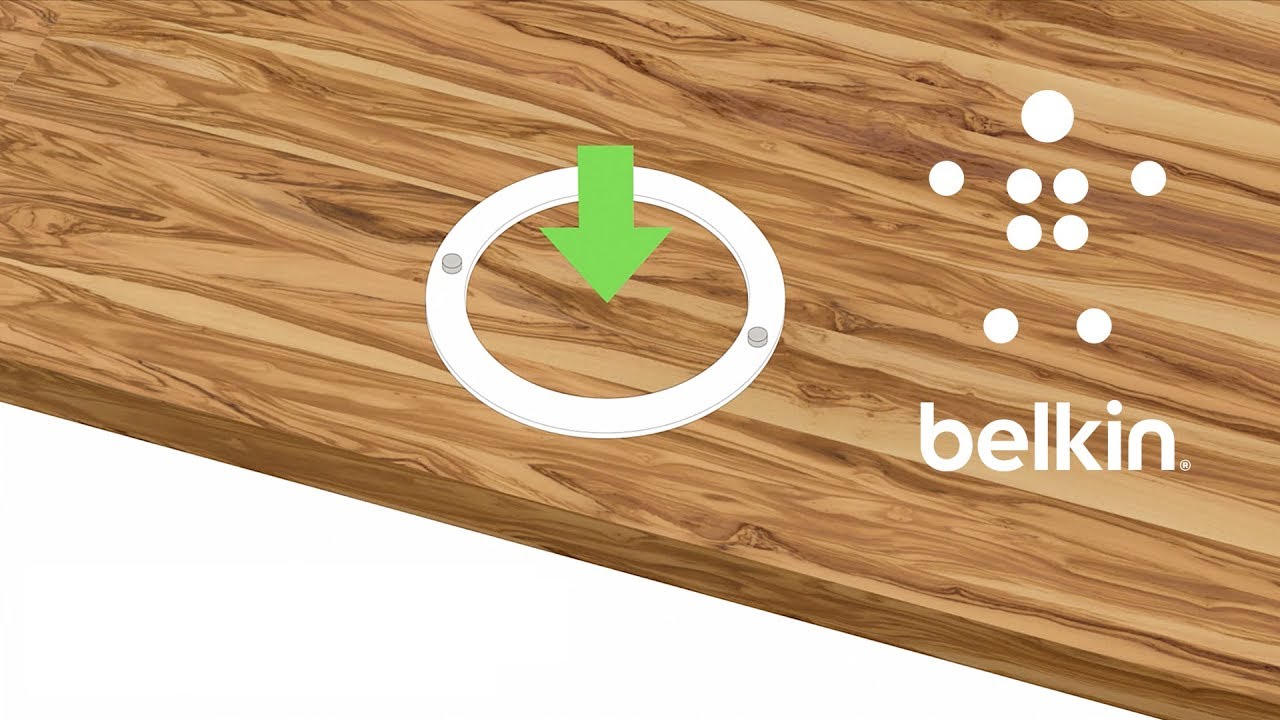
Step 1:
Insert the Charging Spot into the grommet hole and set to the desired orientation. Gently press down on the top of the Charging Spot.
Step 2:
Tighten the bottom screws. Do a full turn of one screw and then do another full turn of the other. Repeat this step until both screws are tight and the Charging Spot is secure.
Step 3:
Plug in the charging cable to the bottom of the Charging Spot.
Step 4:
Use the cable management and zip ties to secure the charging cable to the table.
Step 5:
Plug in the charging cable to a wall outlet.
Step 6:
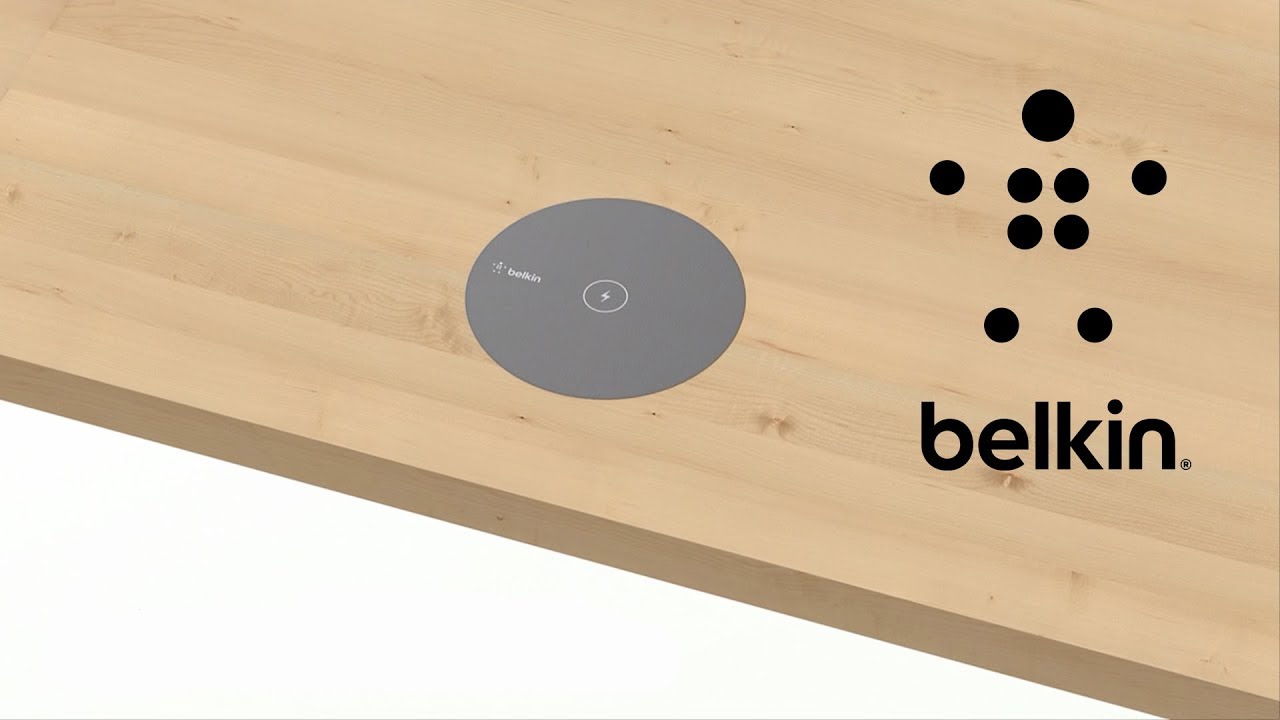
Test the Charging Spot by placing a Qi™-enabled phone on top and verify that the charging session activates.

Recessed installation
Before you proceed, make sure to have the following:
- One Phillips-head screwdriver
- One 3.5 in/90 mm circular grommet hole on your desk or table

NOTE: The steps below apply to Belkin B2B180 and B2B184.
Step 1:
Insert the Charging Spot through the grommet hole from either the top or beneath the table. Gently press upwards from the bottom to ensure that the Charging Spot is level.

Step 2:
Tighten the bottom screws. Do a full turn of one screw and then do another full turn of the other. Repeat this step until both screws are tight and the Charging Spot is secure.

Step 3:
Use the sticker placement tool to help apply the sticker onto the Charging Spot.


Step 4:
Plug in the charging cable to the bottom of the Charging Spot.

Step 5:
Use the cable management and zip ties to secure the charging cable to the table.

Step 6:
Plug in the charging cable to a wall outlet.

Step 7:
Test the Charging Spot by placing a Qi-enabled phone on top and verify that it is working.

Hidden installation
Before you proceed, make sure to have the following:
- One Phillips-head screwdriver
- One 3.5 in/90 mm circular grommet hole on your desk or table
The maximum thickness of the table top after drilling the mounting hole for the hidden mount is 1 mm. A case of 2-3 mm can be used when using the charging pad as a hidden mount setup.

NOTE: The steps below apply to Belkin B2B180 and B2B184.
Step 1:
Mark the center of the charging area on the top surface or use the optional sticker placement tool to apply the sticker.
NOTE: The optional sticker placement tool is available in black or white from Belkin on request. Actual surface design is customizable, at customer's discretion.
Step 2:
Insert the Charging Spot through the grommet hole entering from beneath the table. Gently press upwards from the bottom to ensure that there is no open space between the Charging Spot and the table.
Step 3:
Tighten the bottom screws. Do a full turn of one screw and then do another full turn of the other. Repeat this step until both screws are tight and the Charging Spot is secure.
Step 4:
Plug in the charging cable to the bottom of the Charging Spot.
Step 5:
Use the cable management and zip ties to secure the charging cable to the table.
Step 6:
Plug in the charging cable to a wall outlet.
Test the Charging Spot by placing a Qi-enabled phone on top and verify that the charging session activates.