Setting up the Wemo Maker requires two procedures:
How to edit your Wemo Maker after setup
Installation of leads to the Wemo Maker
IMPORTANT: Basic circuitry knowledge is required to use this product. Make sure you know what to do and the expected results from connecting devices to the Wemo Maker.
Step 1: Make sure your Wemo Maker and the device your're about to install are disconnected from any power sources.
Step 2: Connect the relay leads.
Step 2: Connect the relay leads.

IMPORTANT: Do not connect any device with voltage Higher than 24VAC at 1 amp or 12VDC at 2 amps.
Step 3: Connect the sensor leads.

NOTE: 5VDC at 100mAmps out, max. TTL Logic: Normally High, Triggered Low.
Step 5: Reconnect your Wemo Maker and the installed device to its power source.
Wemo App and Wemo Maker
Follow the instructions below to learn how to set up your Wemo Maker.
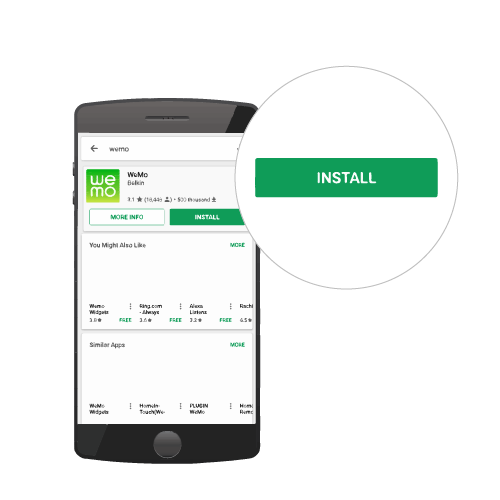
Step 1: Download and install the Wemo App from App Store® or Google Play™.

Step 2: Power ON your Wemo Maker by connecting the Micro-USB cable to an available power outlet.
NOTE: The maker receives its power from an outboard 5 V 1 A PSU via a Micro-USB connection.
NOTE: The maker receives its power from an outboard 5 V 1 A PSU via a Micro-USB connection.

Step 3: Tap the Settings icon on your Android™ or iOS device. Enable Wi-Fi and connect to your Wemo network.

NOTE: Each Wemo device has a unique Wemo ID printed at the back of the unit.
Step 4: Launch the App.
App.
Step 4: Launch the
App. 
NOTE: During set up, remote access will be enabled by default.

Step 5: The Personalize screen will allow you to modify the type of Switch / Sensor you will be using. You can either make the changes at this point or just tap Next and make the changes later.

QUICK TIP: If you need to understand the Switch and Sensor settings, click here.
Step 6: An Email is required before continuing on your next step. This will help us communicate any security updates. A newsletter is optional.

NOTE: If you’ve already provided an email in a previous Wemo setup, then you might not see this screen.
Step 7: Connect to your home network by selecting your Wi-Fi name and provide your Wi-Fi password.
Step 7: Connect to your home network by selecting your Wi-Fi name and provide your Wi-Fi password.
Step 1: On your Wemo App, tap the pencil icon on the Device List.

Step 2: Tap the
 icon.
icon.
Device Controls:
• Switch Type has two possible values: Toggle or Momentary Connection:
• Sensor has two possible values: Yes or No
NOTE: You can also opt to change the Switch Type and Sensor after setup.
In Toggle mode, the Wemo Maker™ ON / OFF functions will behave exactly as the Wemo Switch does.
• Switch Type has two possible values: Toggle or Momentary Connection:
• Sensor has two possible values: Yes or No
NOTE: You can also opt to change the Switch Type and Sensor after setup.
In Toggle mode, the Wemo Maker™ ON / OFF functions will behave exactly as the Wemo Switch does.

In Momentary switches, contacts change from their default state only when the button is pressed and held down.
NOTE: The Momentary mode closes the relay for 300 ms only.

Sensor (No / Yes):
-
No - No sensor device connected to Sensor contacts.
-
Yes - A sensor device is connected to the Sensor contacts.


Sensor triggered - Sensor not triggered:
- Sensor triggered - When this message is displayed in the Wemo App, it simply means that the sensor was triggered.
- Sensor not triggered - When Sensor is set to Yes, this message remains on the Wemo App screen when nothing has triggered the sensor.

Related Articles:
Meet the Wemo® Maker™, F7C043
Wemo® Maker™, F7C043 Frequently Asked Questions


